


Overview
Webflow is a website design and development platform with a built-in Webflow content management system (CMS). The CMS allows users to create, manage, and update website content without the need for coding or technical skills. With Webflow's CMS, users can create custom content types, manage collections of content, and use Webflow dynamic content to populate their websites.
Additionally, the CMS integrates seamlessly with the design and development features of the platform, making it a powerful tool for creating and maintaining websites.
CMS integrations
Content is at the forefront of most online businesses today. Therefore, Webflow marketing plugins that support content marketing endeavors are a necessity. Webflow has a potent CMS. It has inbuilt SEO capabilities and support for rich and dynamic content.
But, content distribution and analytics are better left to third-party apps. Plugins for Webflow Marketing keep everything streamlined within Webflow CMS and get the best of third-party integrations.
This blog covers the five most-recommended Webflow marketing plugins to get the most out of your content marketing. Let's dive into it.
- Story Chief
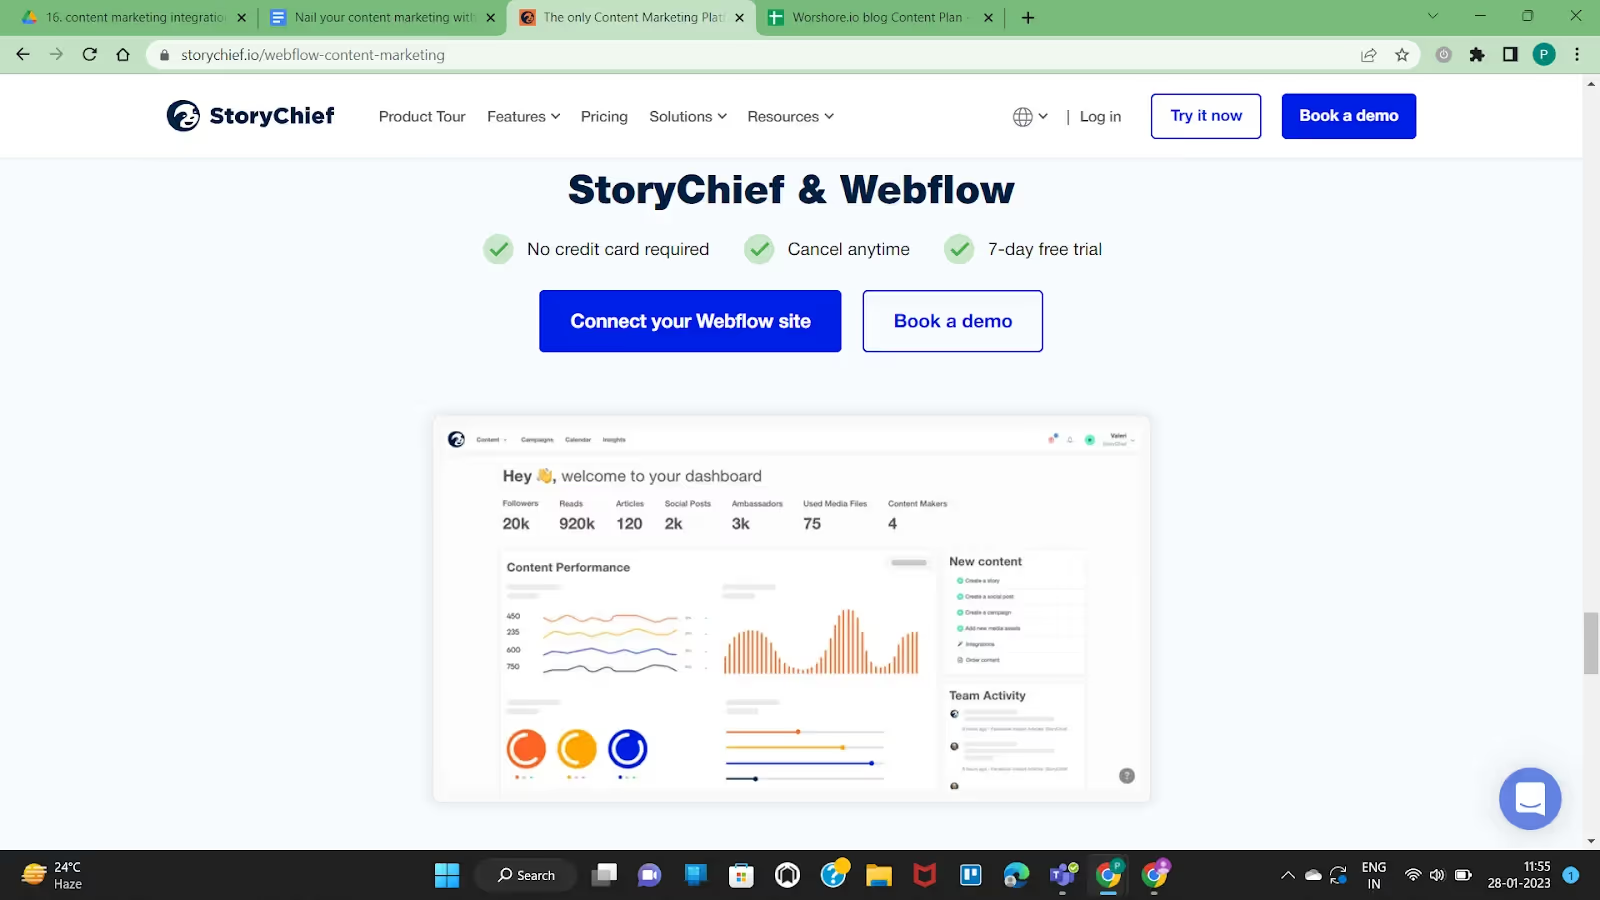
Story Chief is now an official Webflow app. Story Chief can connect with all major CMS to manage all aspects of content marketing campaigns, including creation, distribution, and analytics from a single dashboard.
It allows users to create content with SEO and AI assistance. In addition, you can revise and schedule content within the platform. It also supports team collaboration and content distribution across channels.
On publishing content, you can take stock of metrics like reads and shares across all platforms. Additionally, you can add media with Unsplash stock images or integrate leading editing software. Story Chief can integrate with 1000s of apps.
How to integrate Story Chief with Webflow
- You can add as many Webflow websites as you want. Here's the step-by-step guide-
- Go to Channels and then select Webflow.
- Select the "Add new Destination" button followed by "Authorize Application" to start using Story Chief for your Webflow sites.
- Story Chief will need you to select which Webflow account you want to post to.
- Then you will need to select and save a specific Collection and domain where you want to post by clicking on Save Settings.
- Clever ads
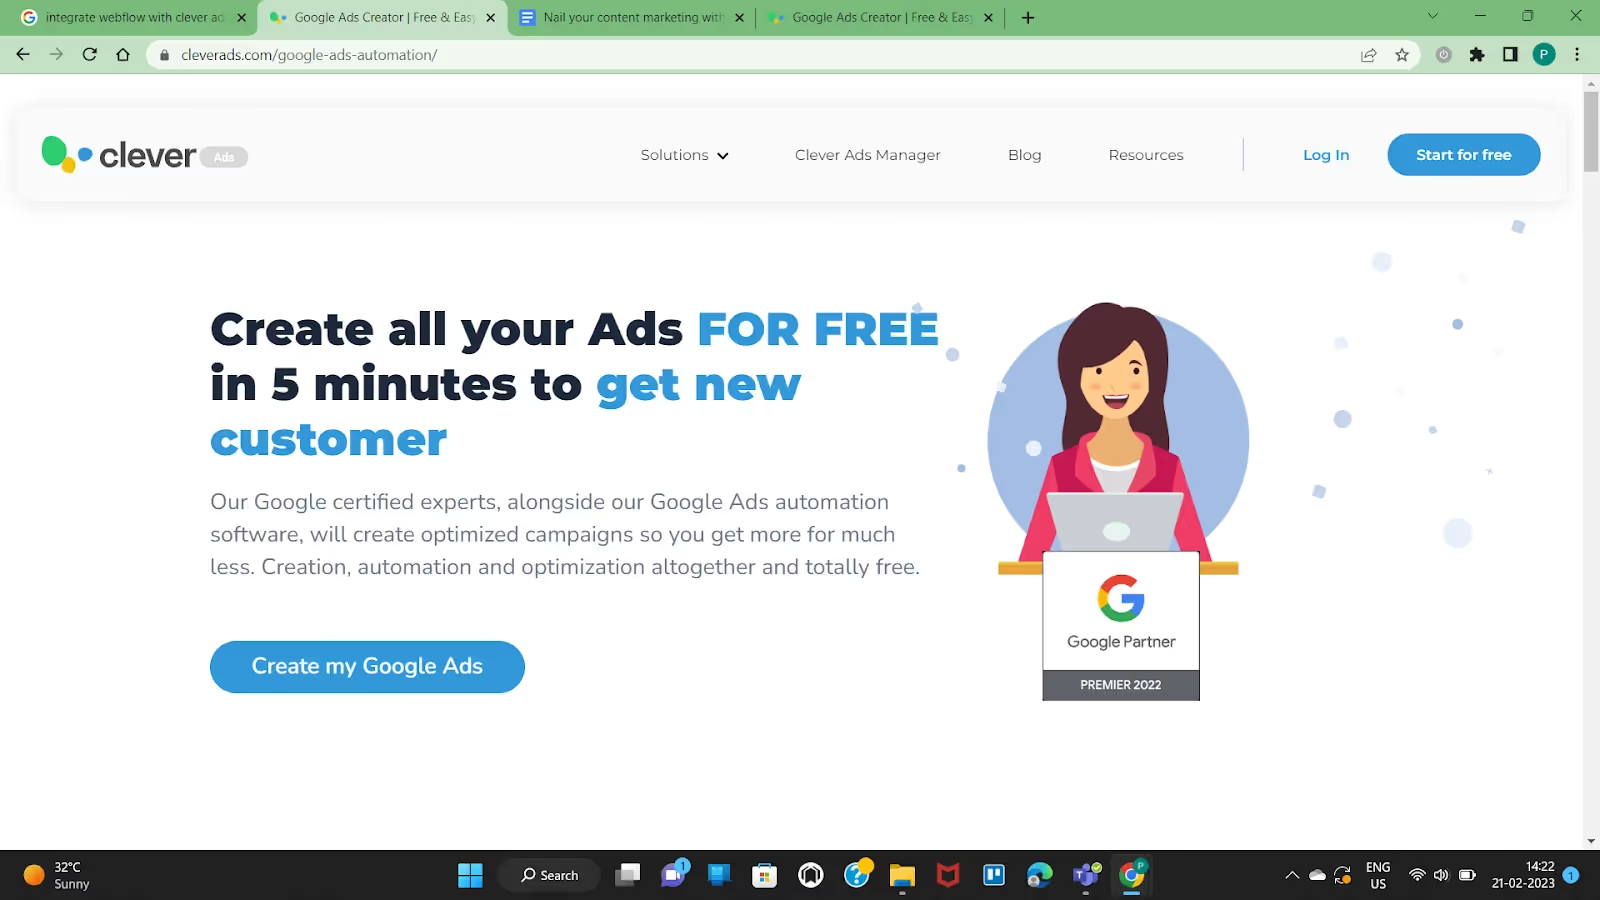
Take charge of Google ads with Cleverads. You can integrate Clever with your Webflow marketing site and create, analyze, and manage ads from a single dashboard.
The platform supports ads for several platforms like Google, Microsoft, Facebook, Instagram, and even TikTok.
The tool enables users to create custom banners for Display ads and promo codes for new users. In addition, you can set alerts and report generation to analyze and optimize your ads through a simple interface, even with mobile. Moreover, the tool is free to use.
How to integrate Clever Ads with Webflow
- You have to create a free Google ads account to get started.
- Post which, you need to describe the nature of your business and the objective of your campaigns.
- You also specify your target audience for effective targeting.
- Now you can create automated Google ad campaigns with Clever Ads.
- AddThis
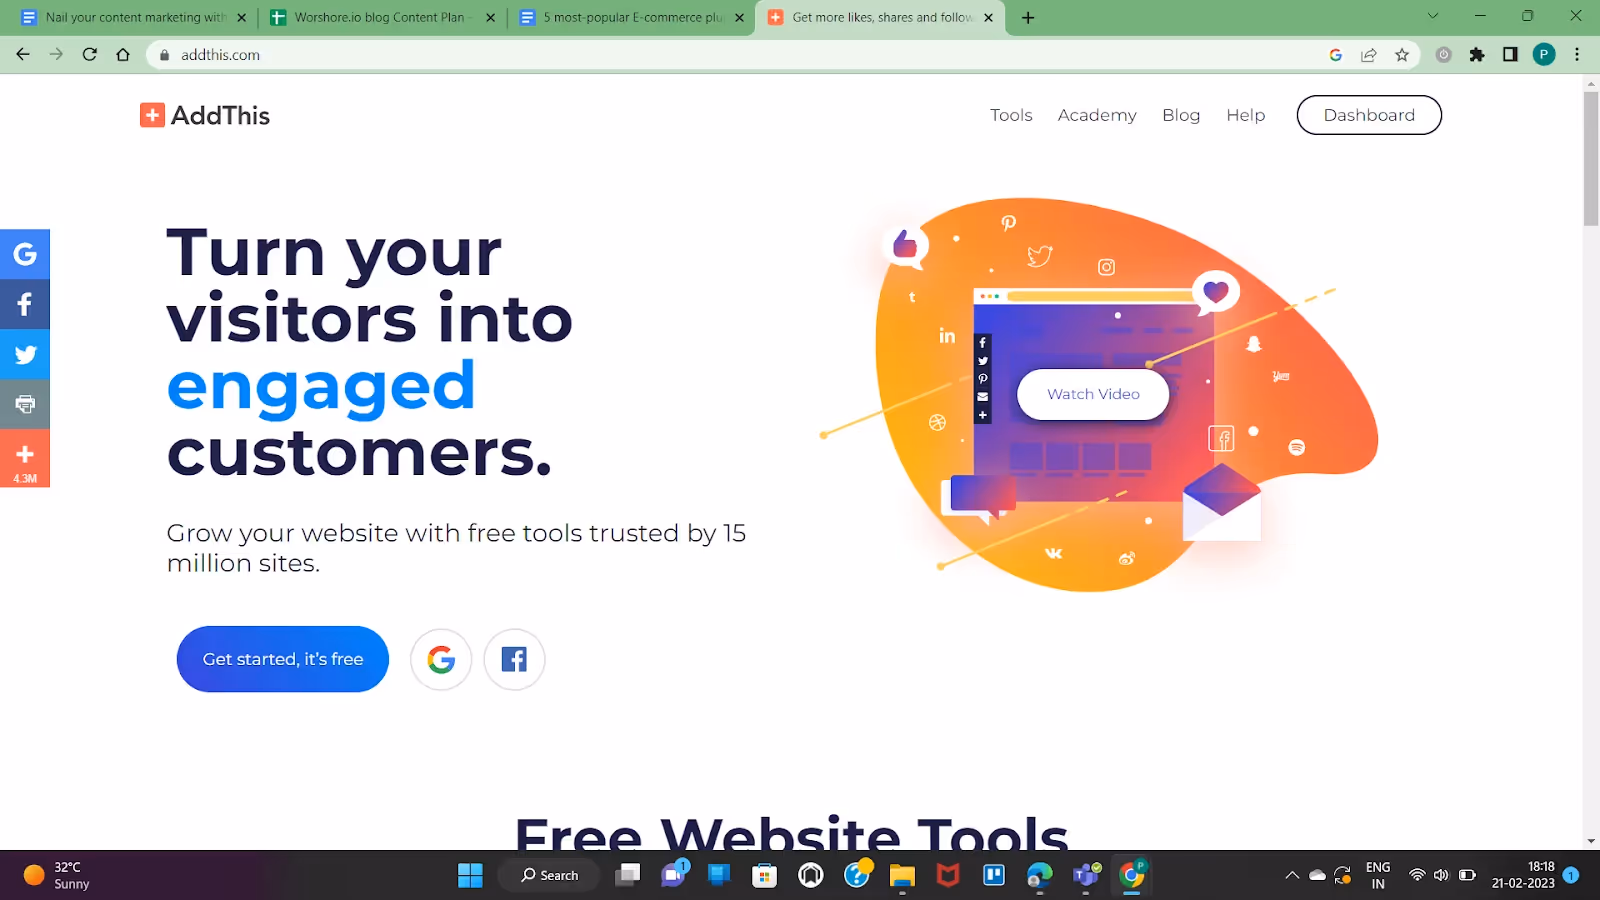
When you want to go beyond publishing your post and maximize the reach of your post, you can integrate AddThis. The tool offers share buttons, a recommended posts widget, and link promotion for greater results. It helps boost the engagement rate of your content across the user base.
The tool is an excellent choice for e-commerce needs. This is because it allows segmenting the users across categories like location and new vs. returning visitors.
The notable feature of the app is that it is the only third-party social sharing plugin that supports Accelerated Mobile Pages.
How to integrate AddThis with Webflow
- Register for an AddThis account and create an AddThis profile.
- Select your Webflow website profile and select the Get the Code button.
- You will get a unique code snippet to download and install.
- You can now go to your Webflow project and paste this code snippet into Custom code Settings.
- Save changes and Publish the site.
- Activate the tool using the AddThis dashboard.
- Alternatively, you can change the settings by selecting Show/Hide on these pages.
- You can also enable the plugin on specific pages by adding the code snippet to each page's footer.
- Proof Pulse
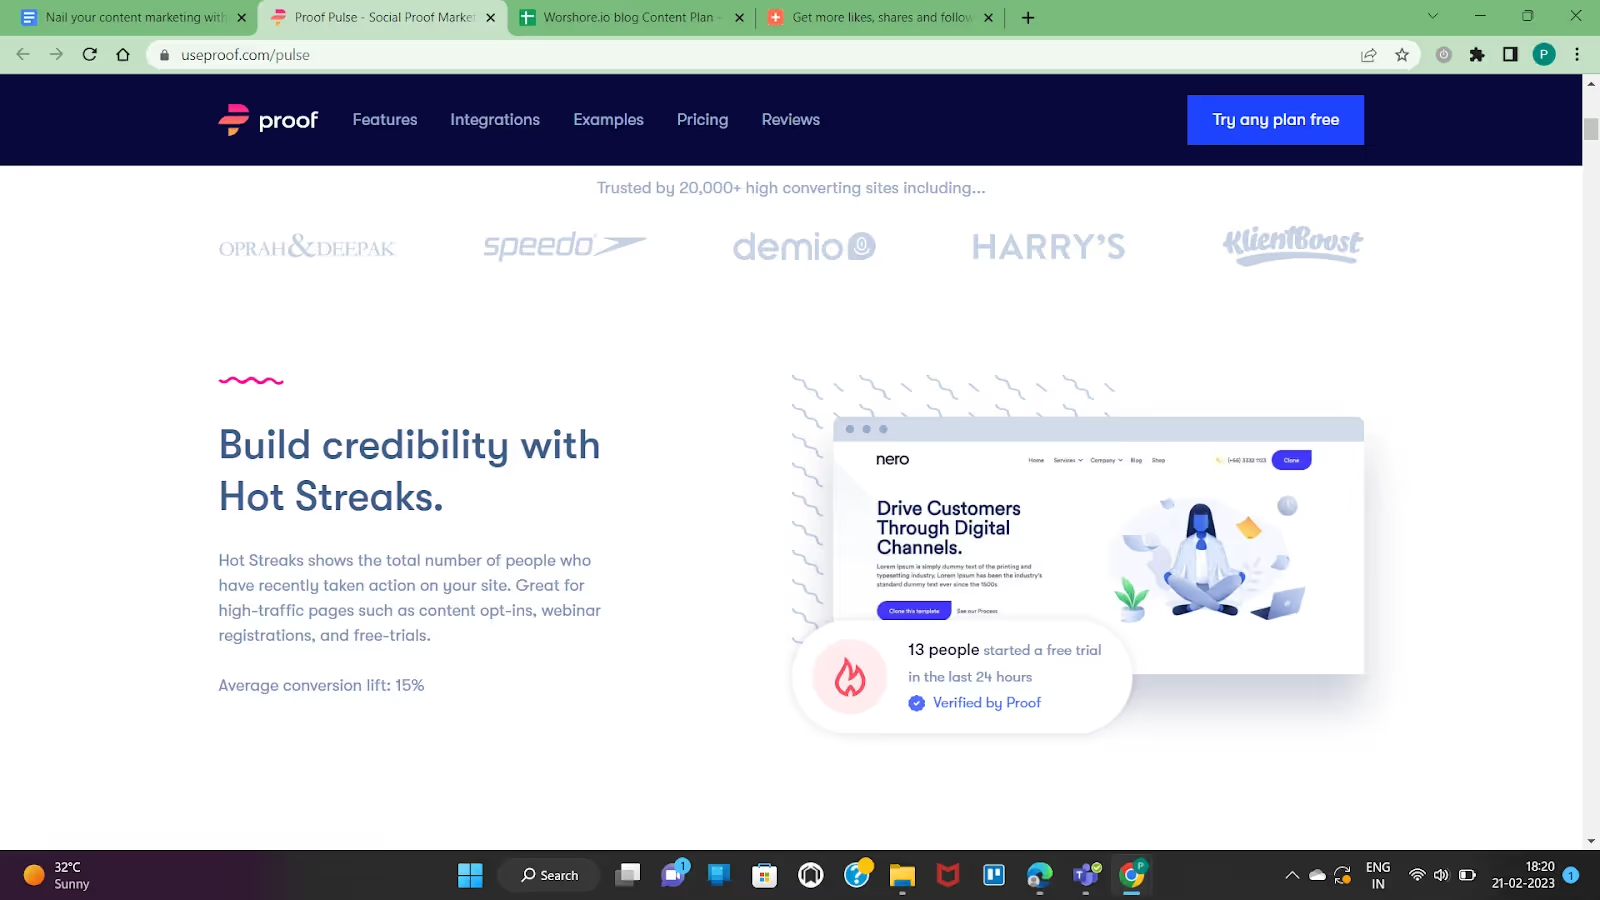
Proof Pulse helps increase conversion rates by showing proof of people engaging with the page's content using a live feed of real people. This can be set up for any page of your website where you want user action, like a landing page or demo page. The tool helps boost the conversion rate by at least 8%.
This highly-rated platform shows multiple user activities with location and images of real people engaging with content like downloads or actions like sign-ups. This display helps build credibility and create urgency.
How to integrate with Webflow
- You can integrate Proof using Zapier.
- Start with authorizing Proof.
- You have to create a new workflow in Zapier, namely a Zap.
- For example, you want to automate recent activity on your Webflow website corresponding to a content download.
- In the example above, the trigger will be a download on your website.
- Set the corresponding action in Proof, where it will show recent activity on the given Webflow page.
- You have now integrated Proof with your Webflow website using Zapier.
- Flockler
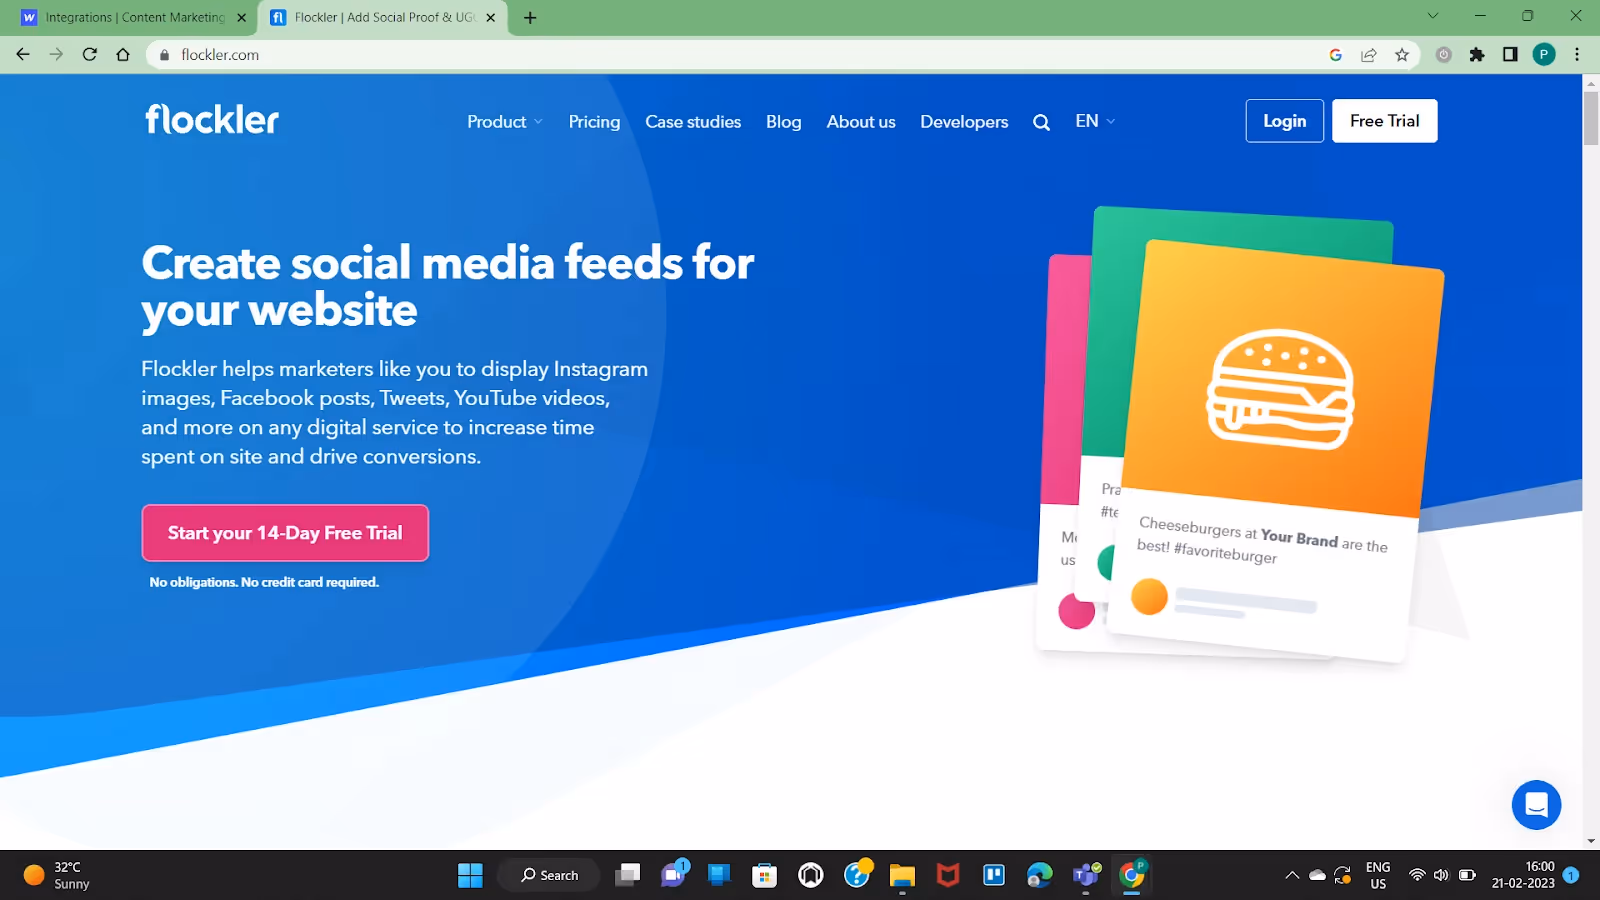
Flockler allows you to display your branded and UGC content on your websites. Also, you can add testimonials, campaign interaction, and much more from your social media pages to your website to include social media campaigns in the overall content marketing funnel.
You can show the automated feed from different digital services like carousels from Instagram or videos from Youtube on your website pages to increase dwell time and boost conversions. Additionally, you can also create custom posts and updates from live events to show up on your website [age using Flockler.
Finally, Flockler can also double-up as a useful e-commerce plugin by creating shoppable UGC galleries to go with your online store.
How to integrate with Webflow
- Choose the social media channel that will be used as a source for the social media feed. You can also combine feeds from multiple sources.
- Now select the display from one of these - Wall, Carousel, or Grid.
- Embed the feed into the Webflow page by using Embed Code in the Components.
- Copy-Paste the code from Flockler's Display section to Editor in Webflow.
- Save changes and publish the site.
Conclusion
You can use these third-party Webflow Plugins for Content Marketing to nail your strategy. Webflow was designed with optimized content marketing in mind. As a result, you can expect more apps and plugins to be built in the near future to serve the Webflow CMS ecosystem.
Until then, stay tuned for the latest updates on Webflow SEO Plugins, integrations and more.


.png "Schedule a call with Workshore Webflow agency")